I think it’s fair to assume, given these crazy times, that I am not the only one who has gotten more resourceful and crafty. I mean the less money I can spend, the better!
My mindset is no different when it comes to decorating my home either. Recently I have been particularly bothered with how bare the walls of my condo are. It’s interesting, because when I first moved in, I loved the idea of just well-painted walls to create a clean and chic look. Perhaps because of spending more time at home in the last few months than ever before, I now crave decorating the walls, not only with pictures of my family and friends ( I do have those- I’m not a psycho lol), but also of more abstract art and photography.
I remembered that I have a collection of photographs that I have taken over the years of landscapes, nature, and architecture. And what would be better than hanging my own photography and artwork in my home, right? So, I chose 3 photographs and got them printed on letter size photo paper. I knew that I wanted these images to tell a story and be hung together in an artistic way. I have stairs in my entry way, so my idea was to hang three photos in progression along the stairs. This was they would be the first pieces of art my guests (or really just me as of late) would see. These photographs are beautiful, but simple and classic in a sense. They each preset a certain feeling from very different perspectives. So I knew the frames they would go in needed to also add to the story.
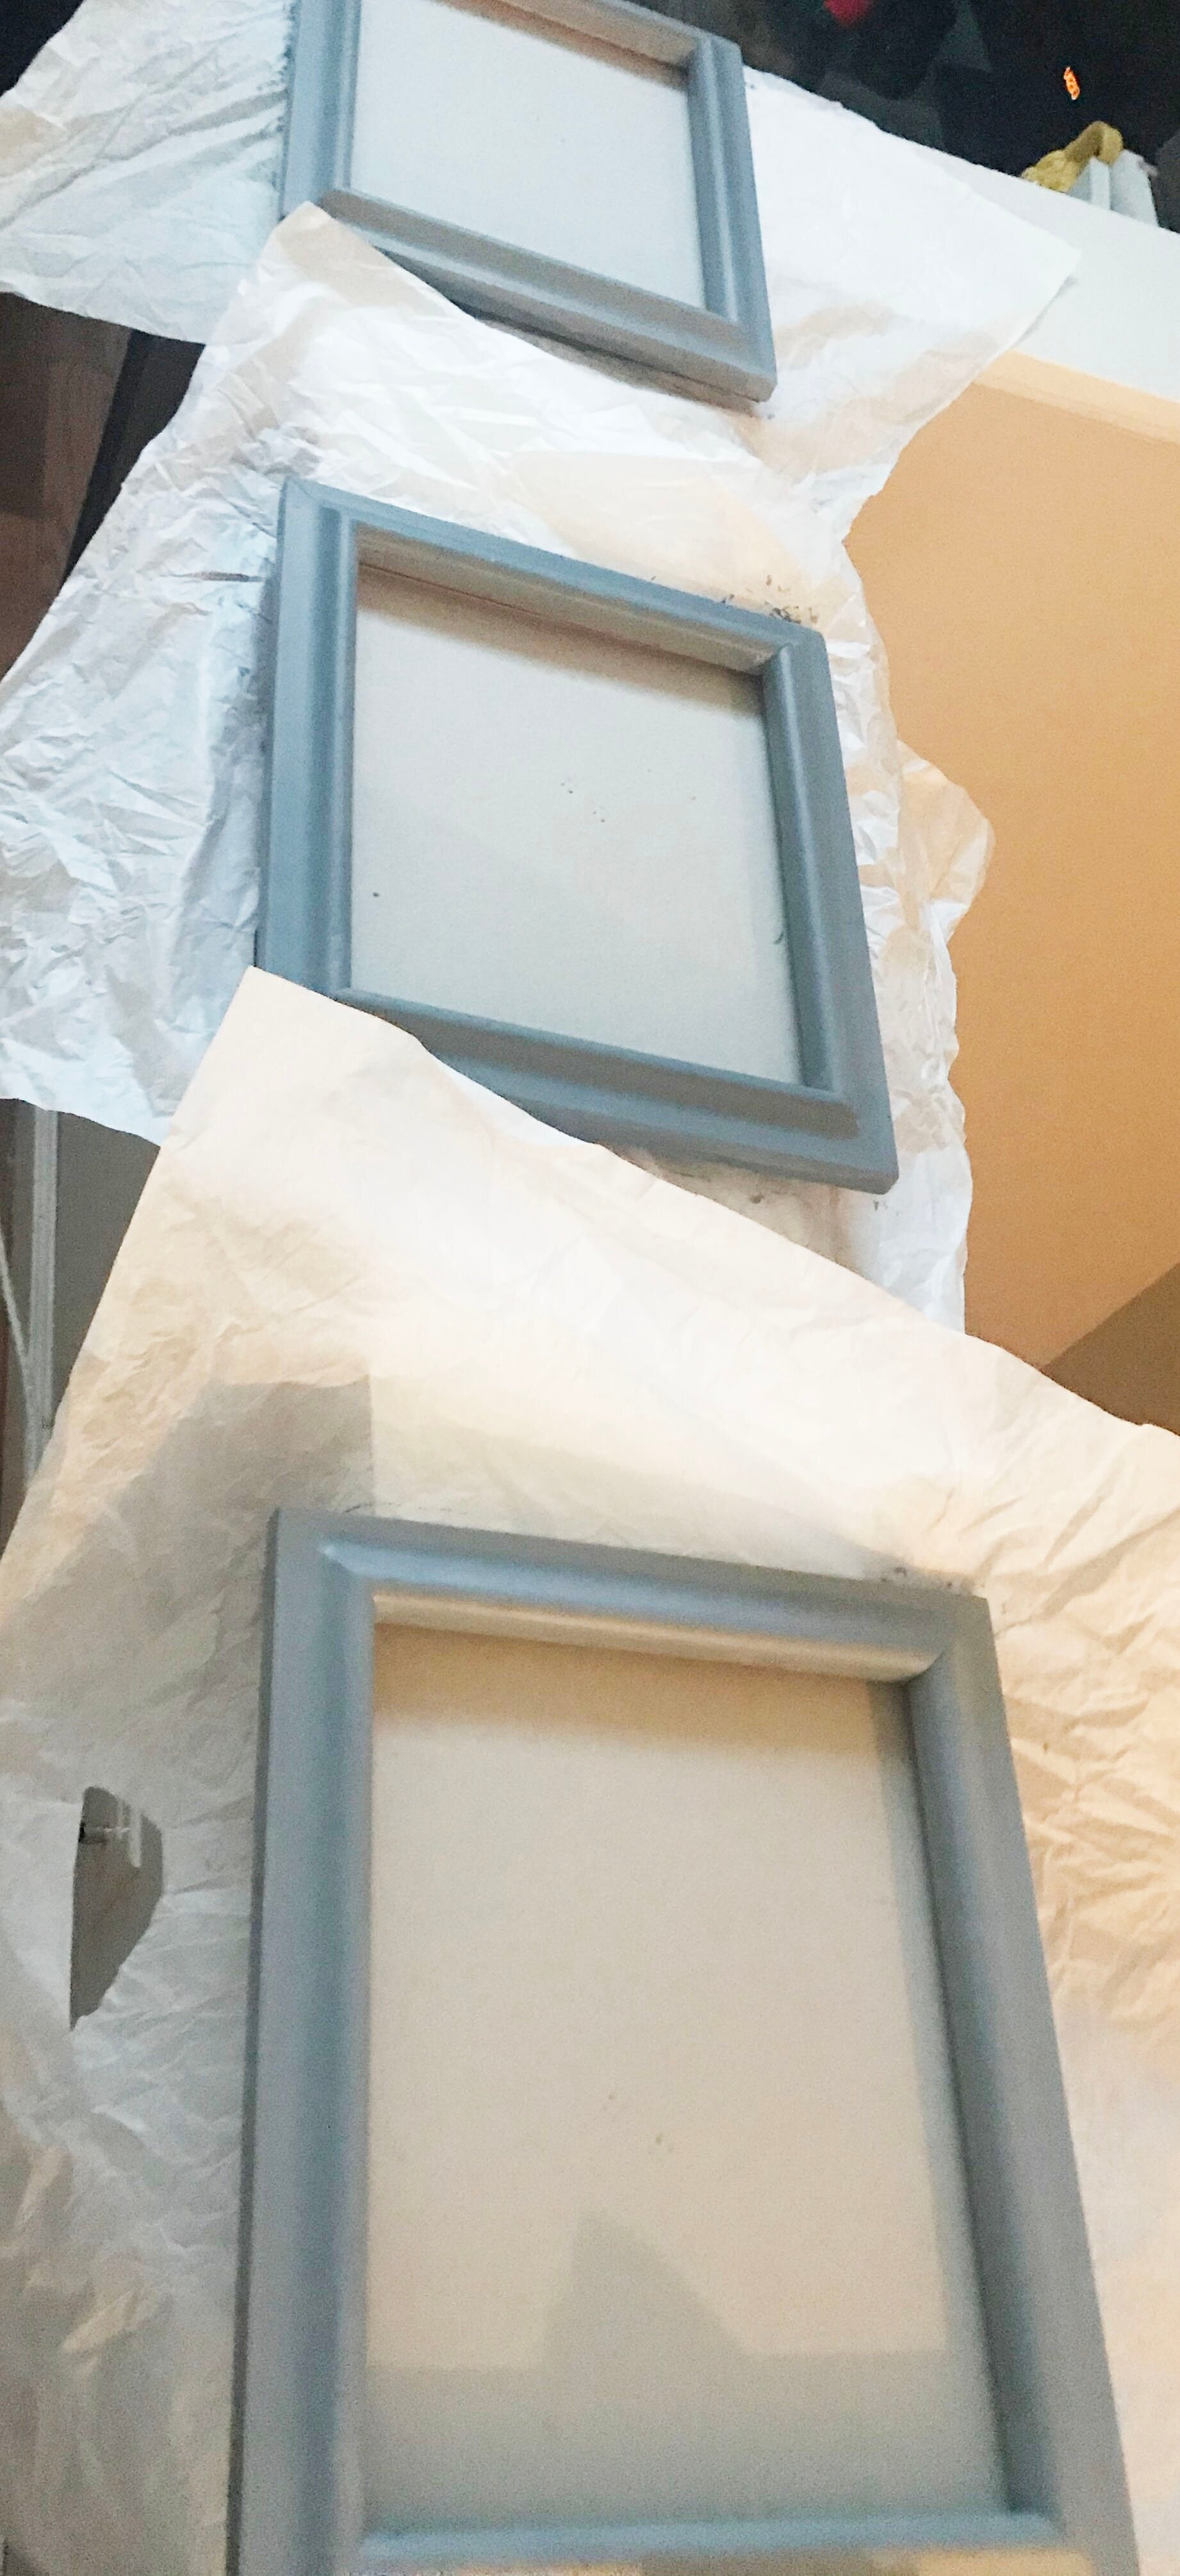
Luckily my mom who like most moms, has framed and hung pretty much every single picture we have ever taken so she had some left over frames she was no longer using. She gave me 3 wooden frames that had notable wear and tear from being in storage and that also were the standing type of frames with no back mount (you know, the one with the kick stand on the back). But as soon as I saw them, I envisioned up-cycling them in my own unique way.
First, I was able to removed the back kick stands which were attached by rivets using a set of pliers and then I brought a picture hanging knit. This kit includes back claw mounts, hooks, and thin nails all in various sizes to cater to whatever weight and size frame you have.
Using a hammer, I was able to fairly simply nail the back mounts to the back of the frames.
Note: please be sure to remove the glass from the frame BEFORE hammering the nails in to ensure the glass with not be at risk of cracking.
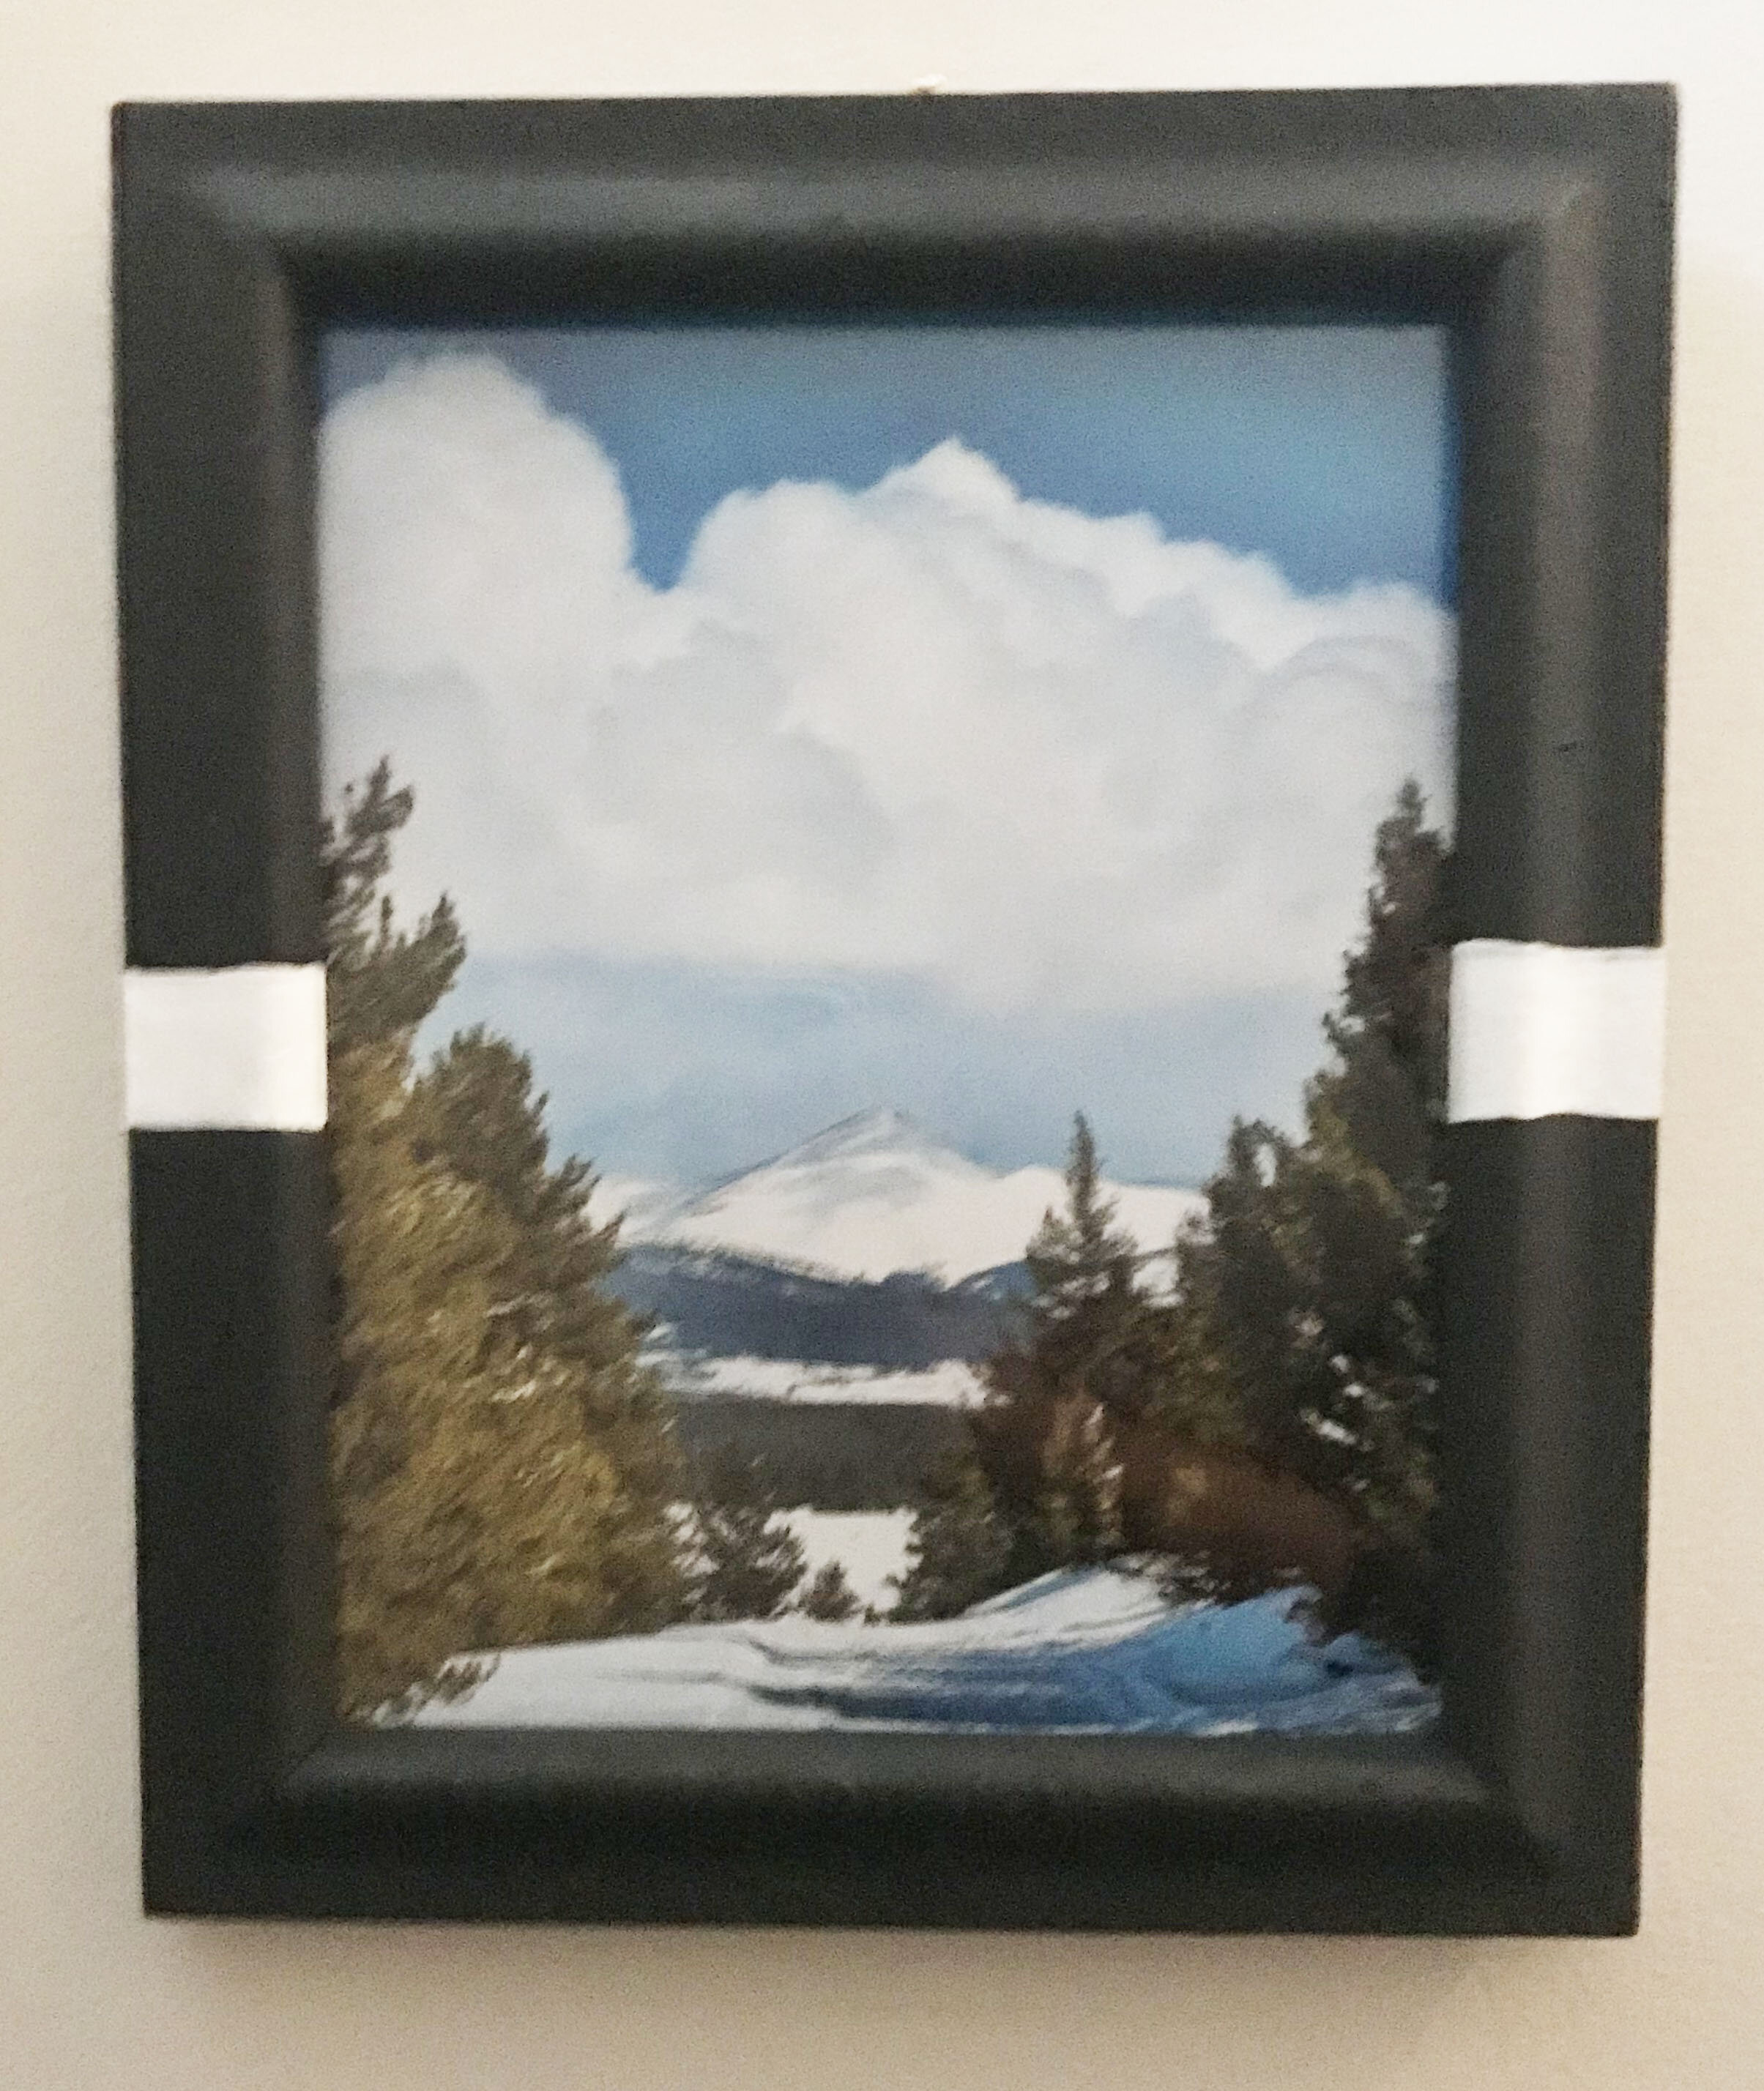
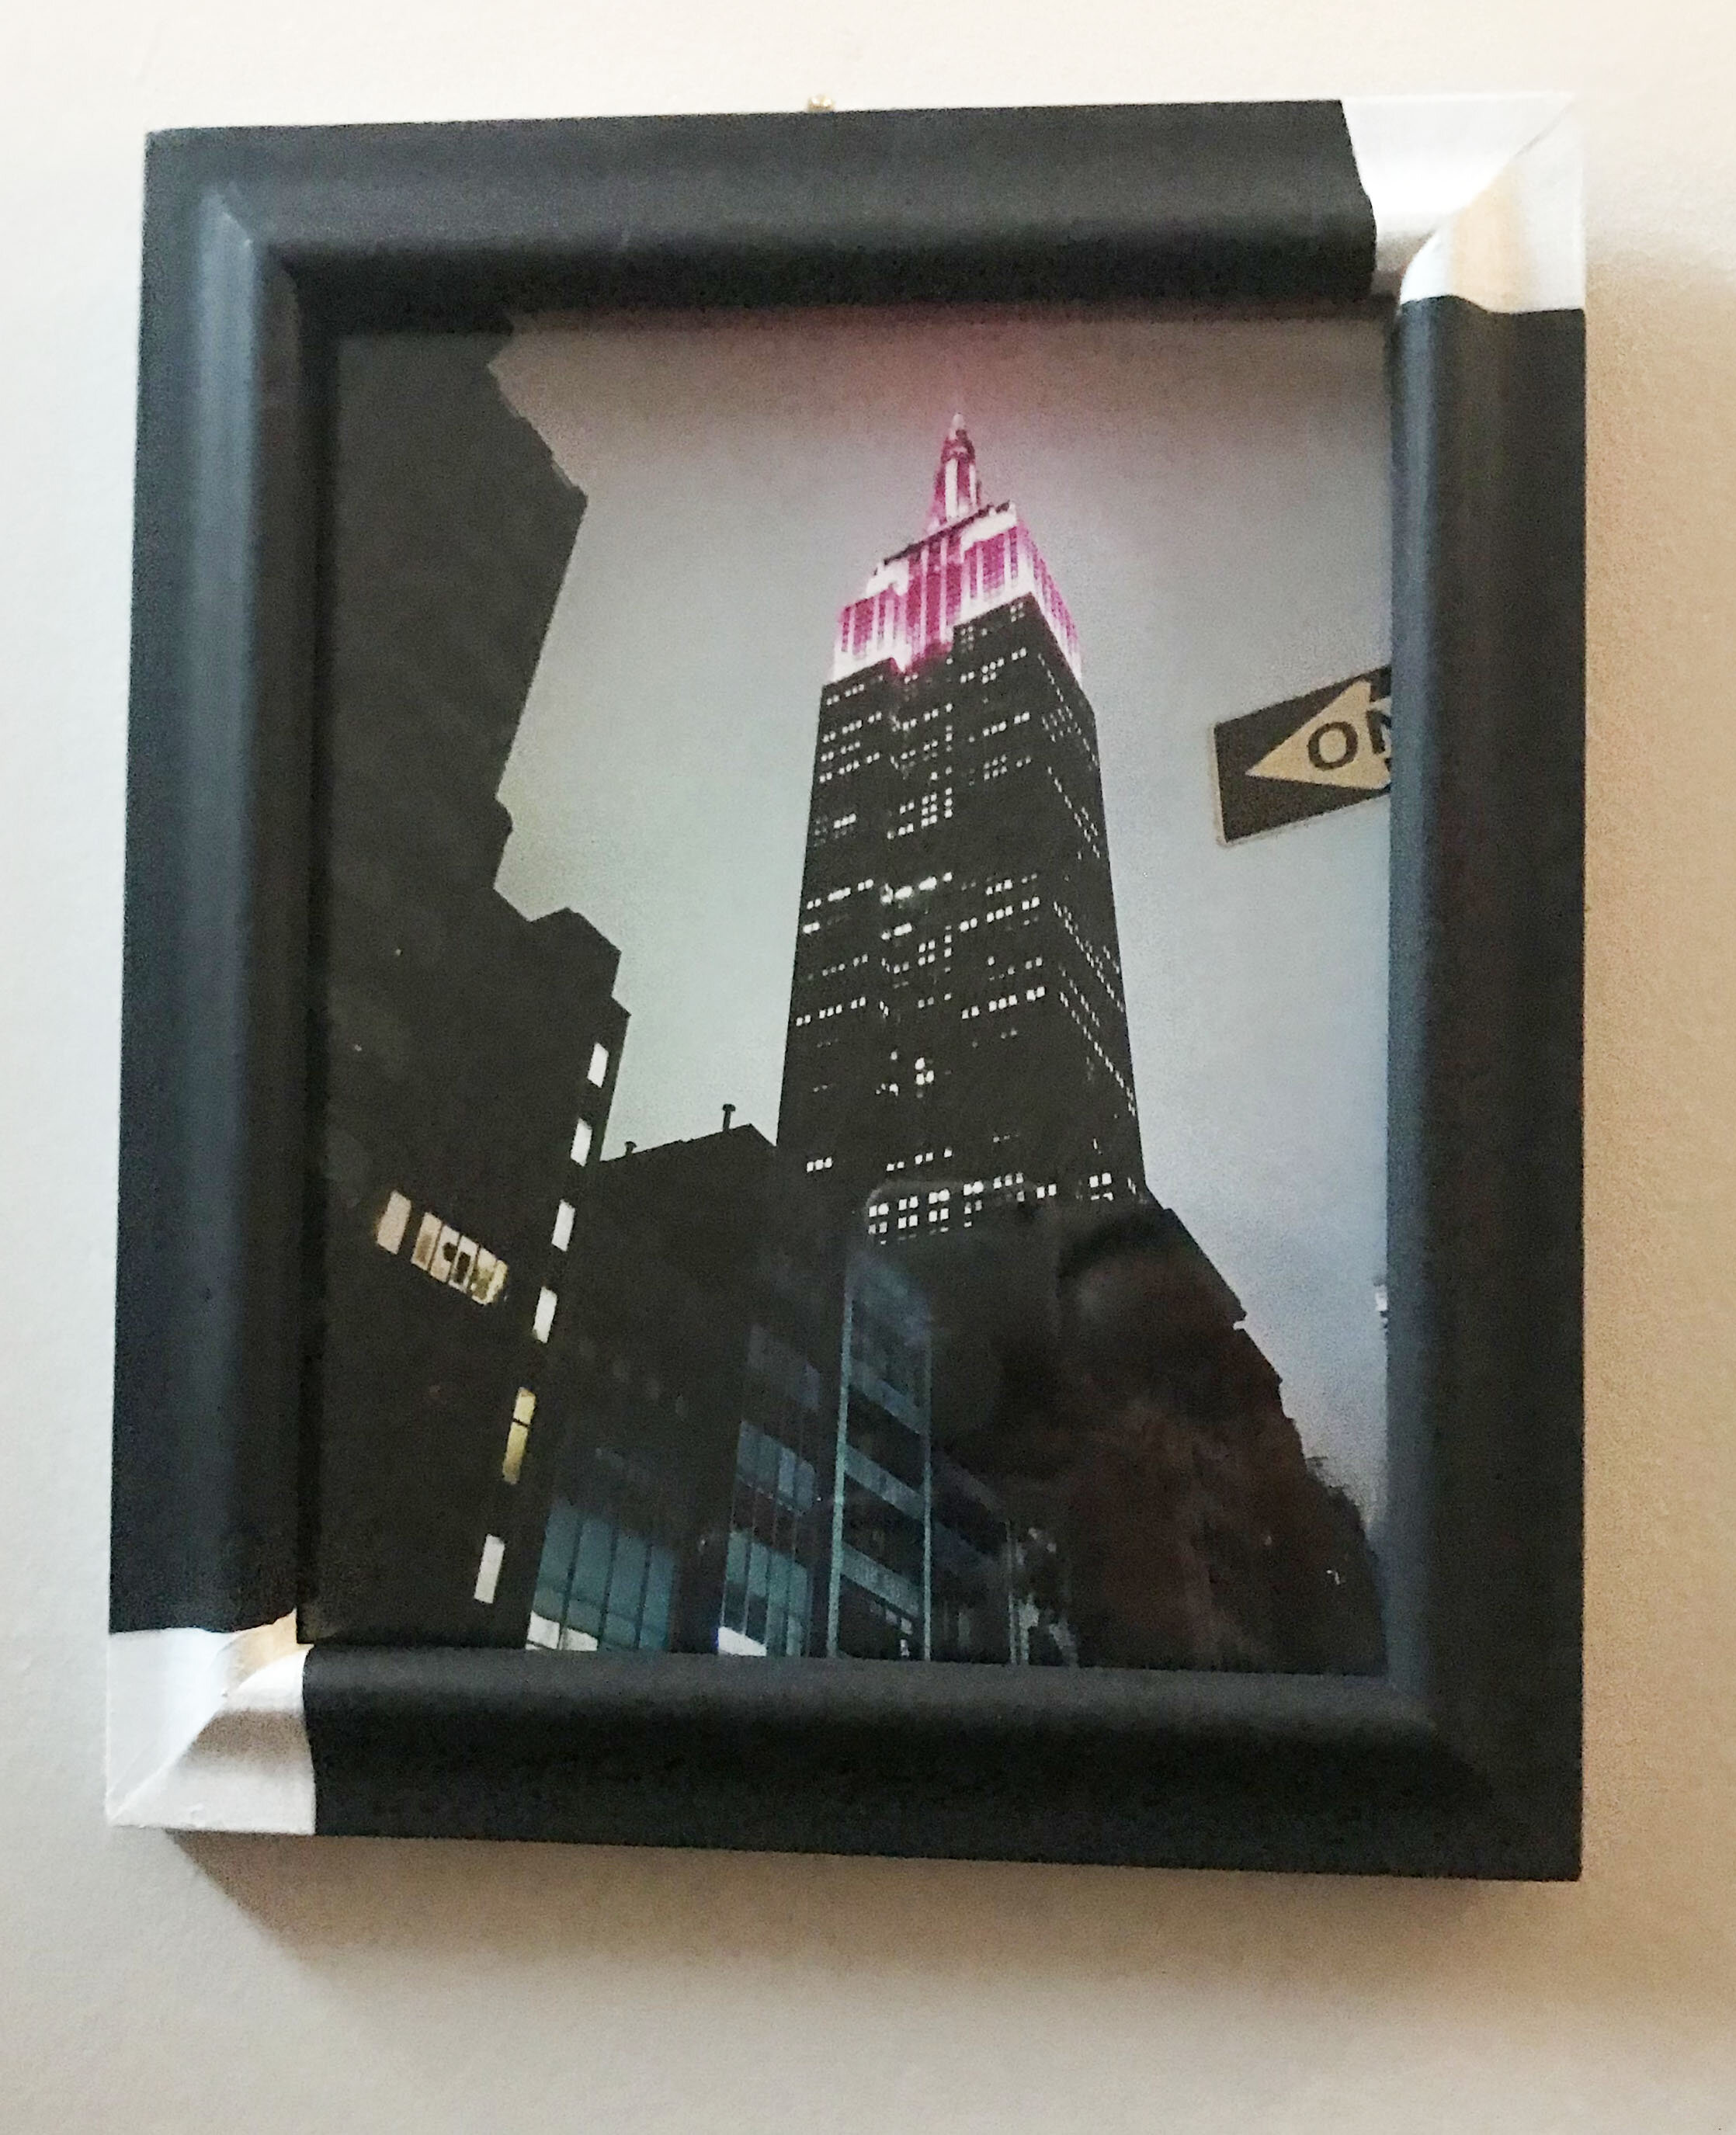
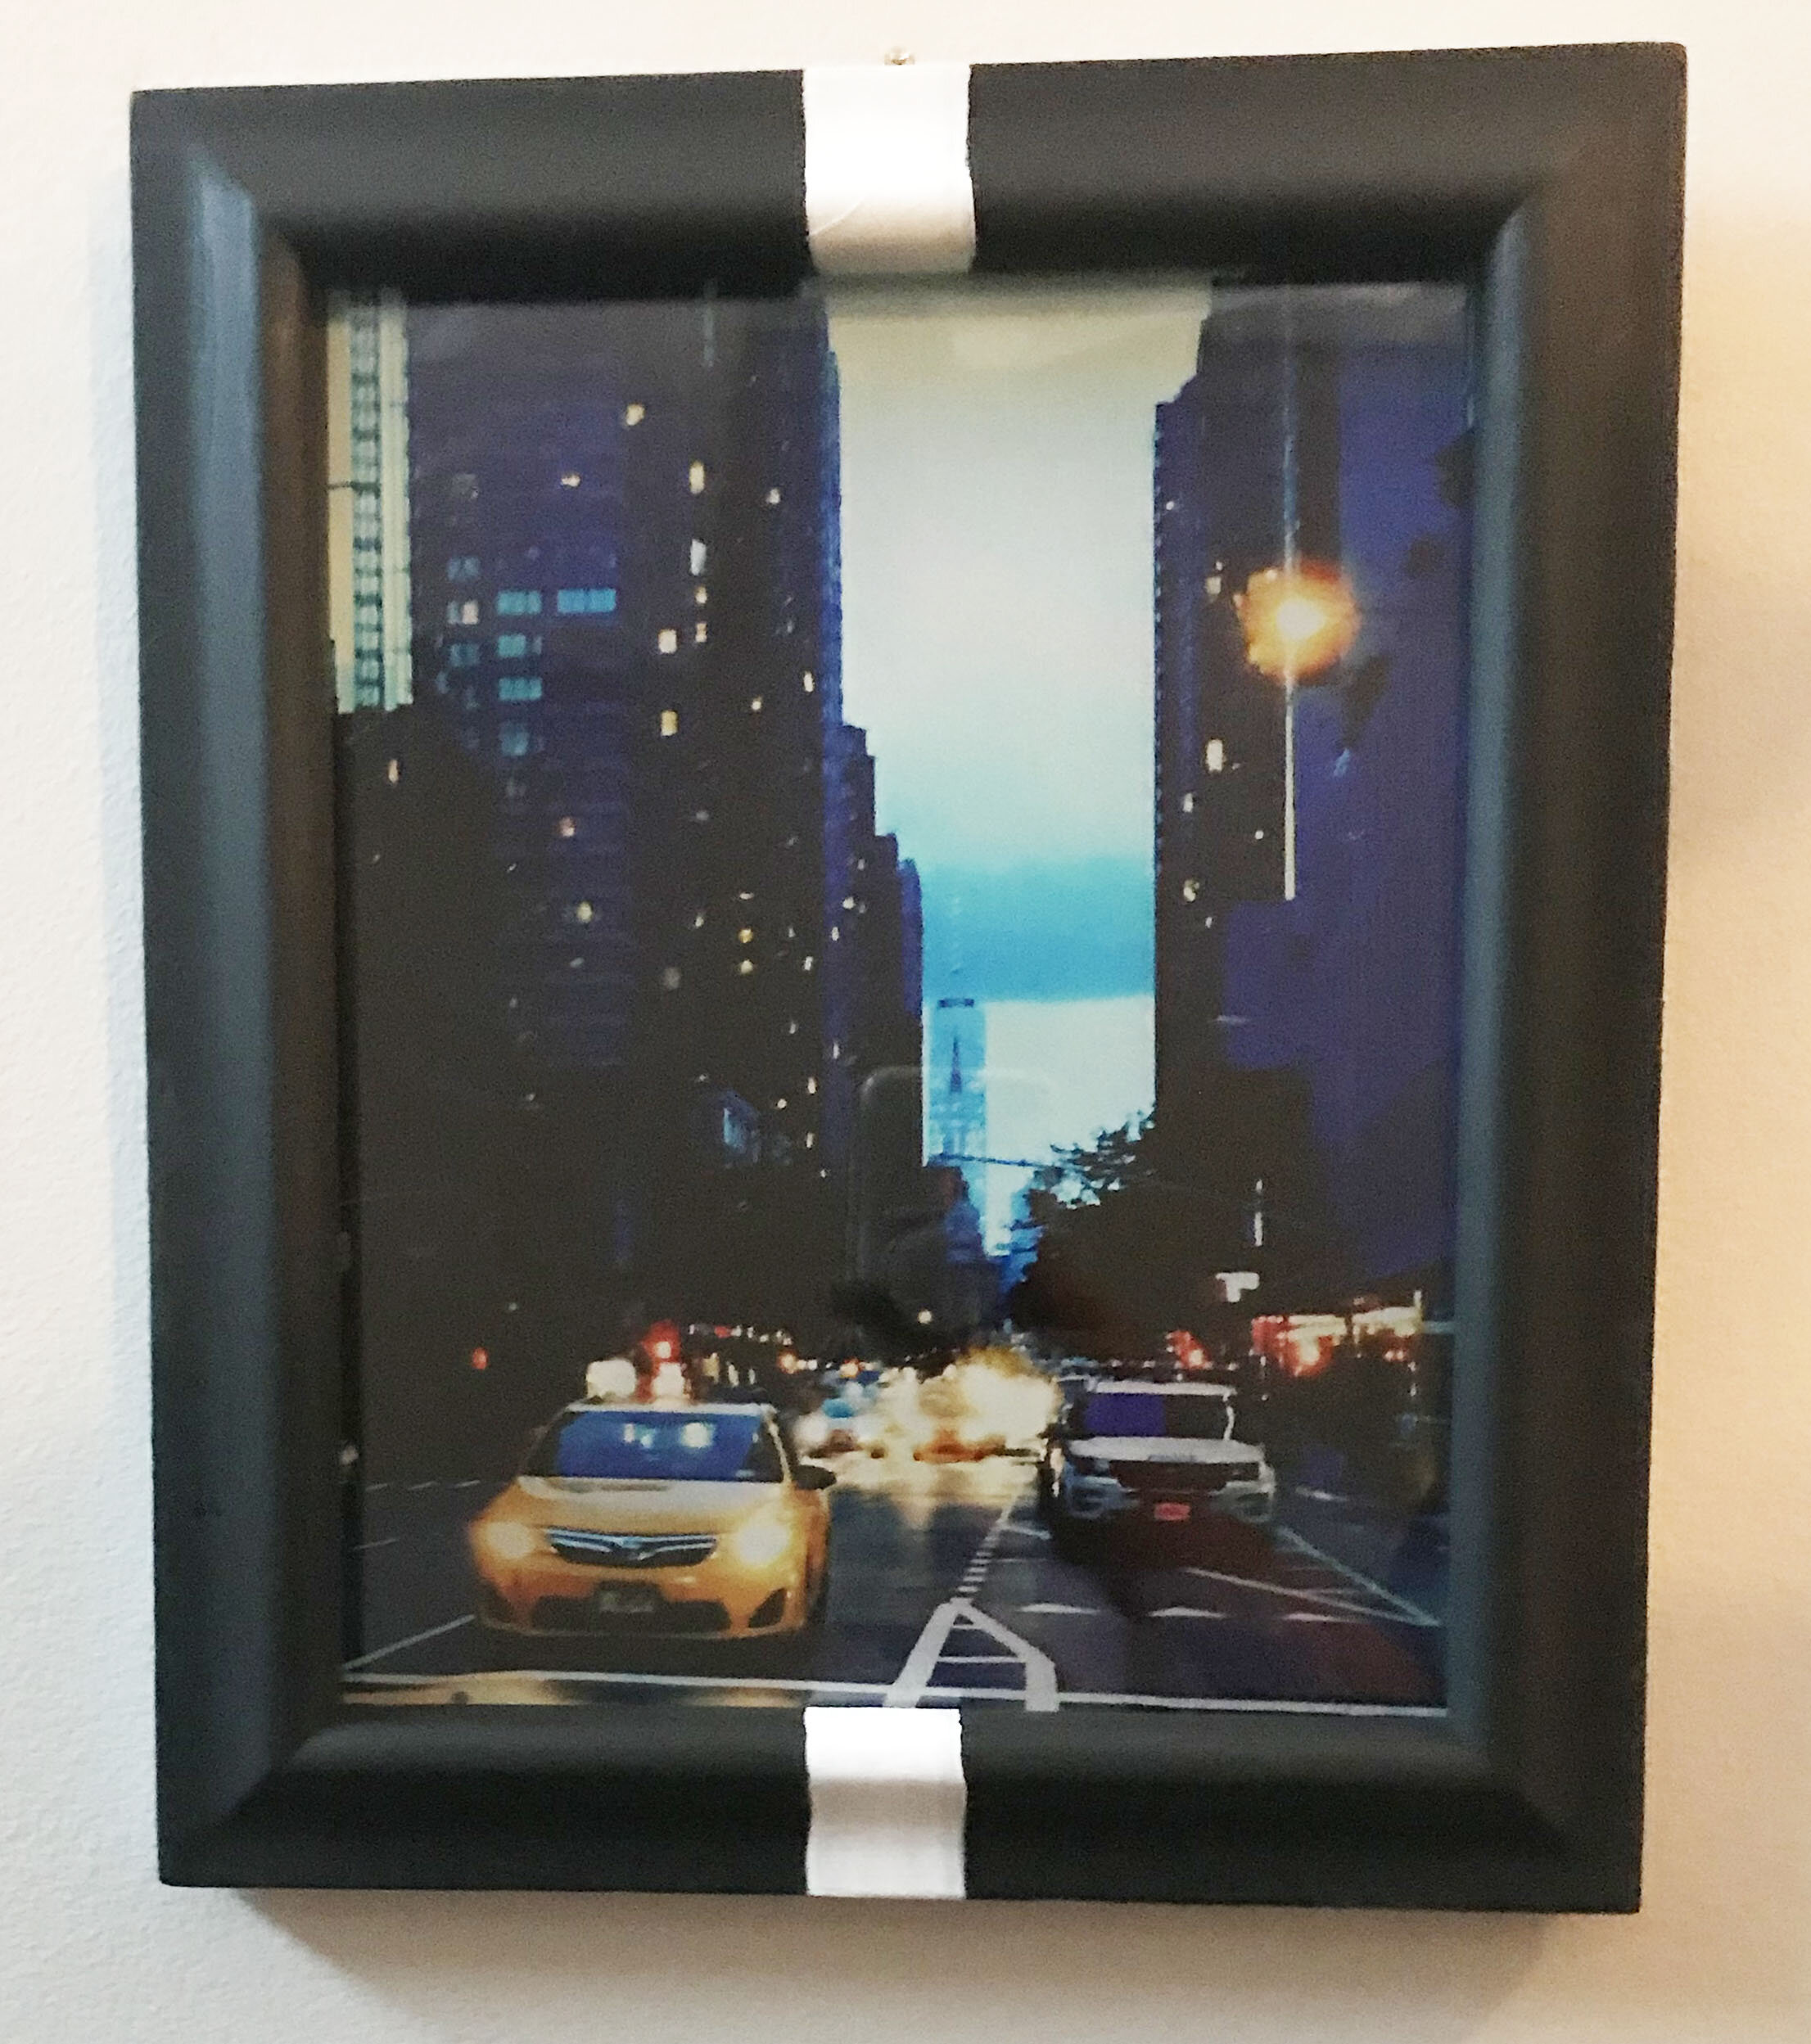
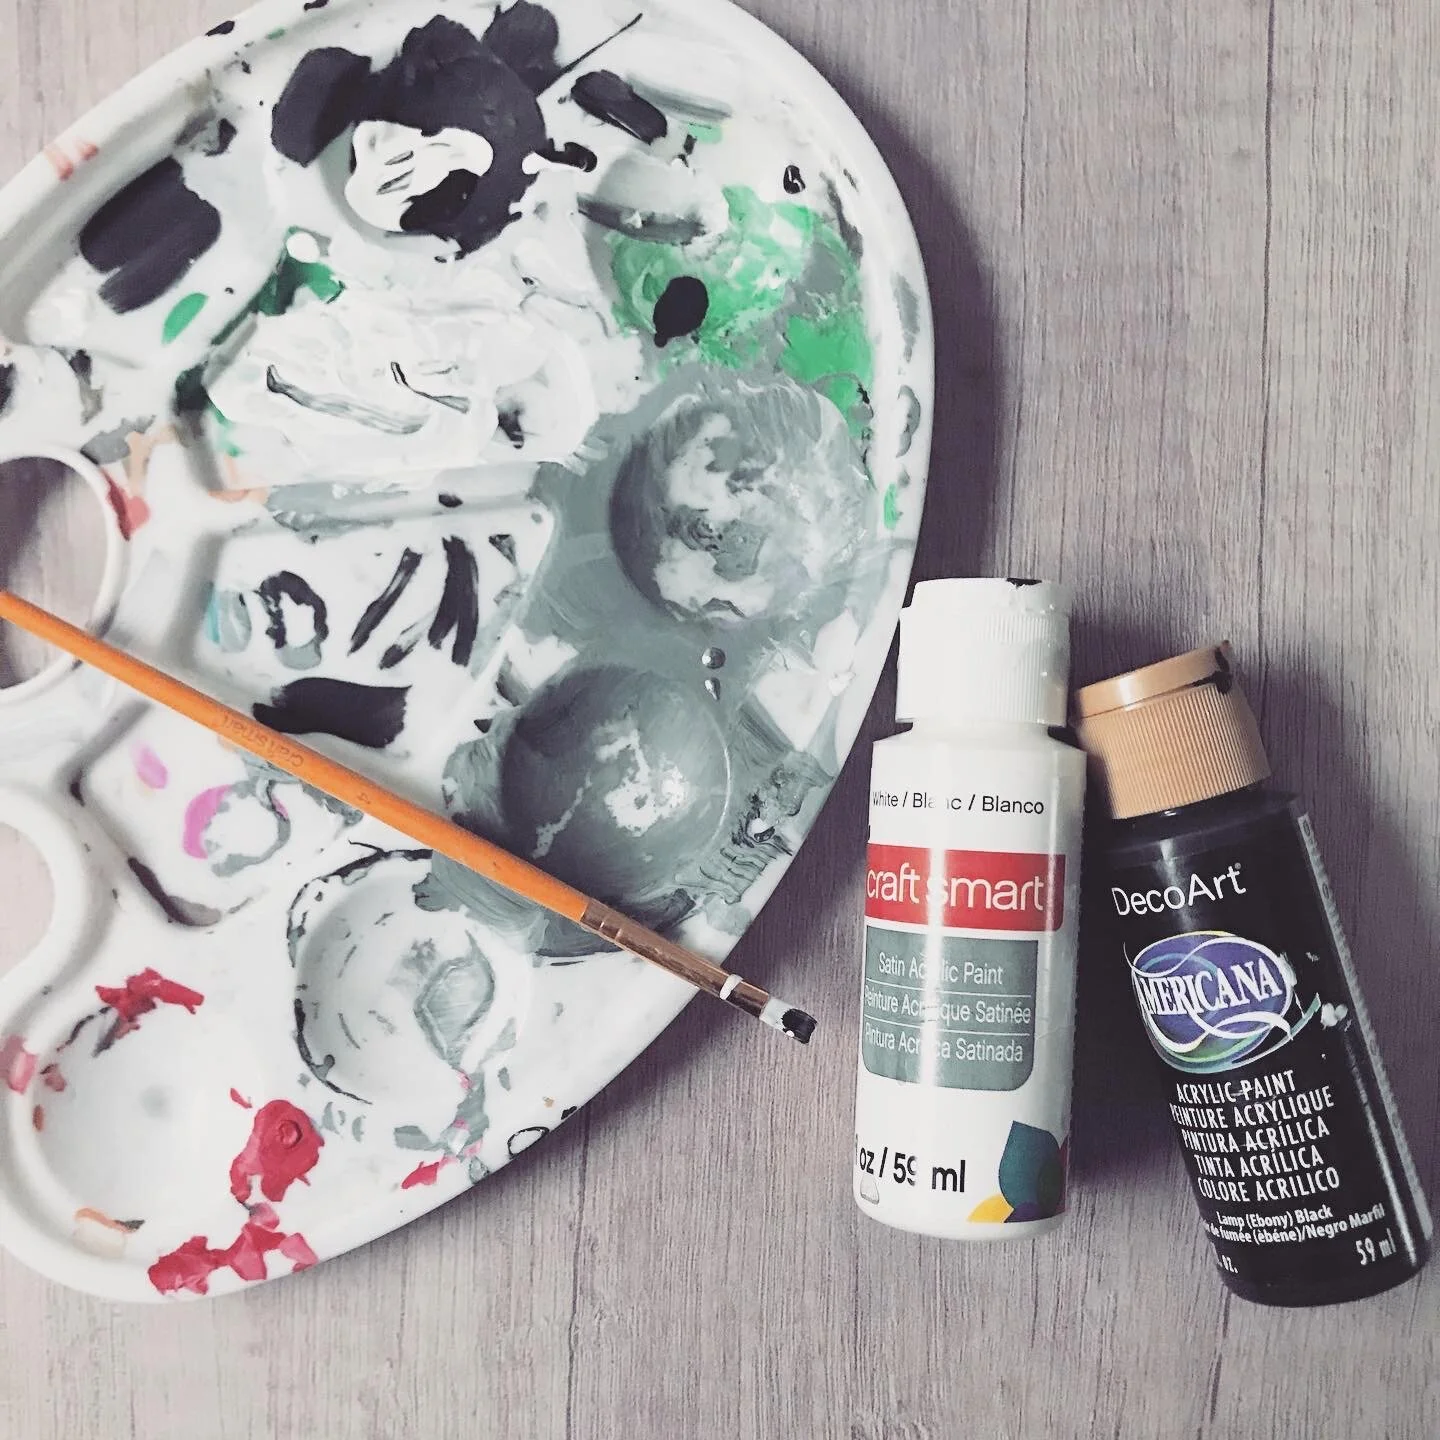
With the glass out, I now had to decide how to up-cycle these- paint of course! Given the neutral color scheme of my home (light grey walls, mostly black furniture) I decided to paint these frames black, using a craft paint. But I did’t just want them plain; I wanted to add a little art to them. After I painted them all black, I reached for my weight paint and thought about adding accents to the corners. I did to one frame and it looked pretty cool.
Then I thought, what if each was different? What if that was the way to tell a story. The next frame, I added white paint as well but this time the placement was horizontally across the frame. And naturally, the last frame had to now be vertically through the frame. In order, these framed looked like a profession or an equation of some sort.
There is no direct meaning behind the placement, but I like that look at them makes you think a little bit more. Isn’t that what art is all about? Interpretation, not just answers.

I love how these frames came out. And with the photos in them, they truly look modern and artistically chic.
Once I marked my wall placement using a tape measure and pencil, I hammered the wall hooks in and finally hung my original works of art.
Take a look at the finished layout as well as close ups of each below.